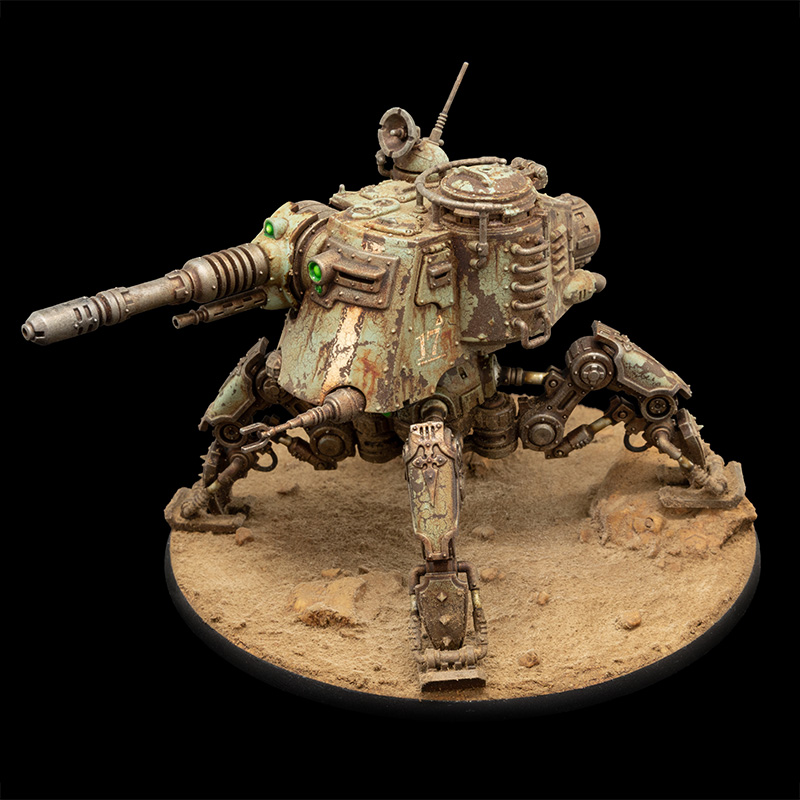
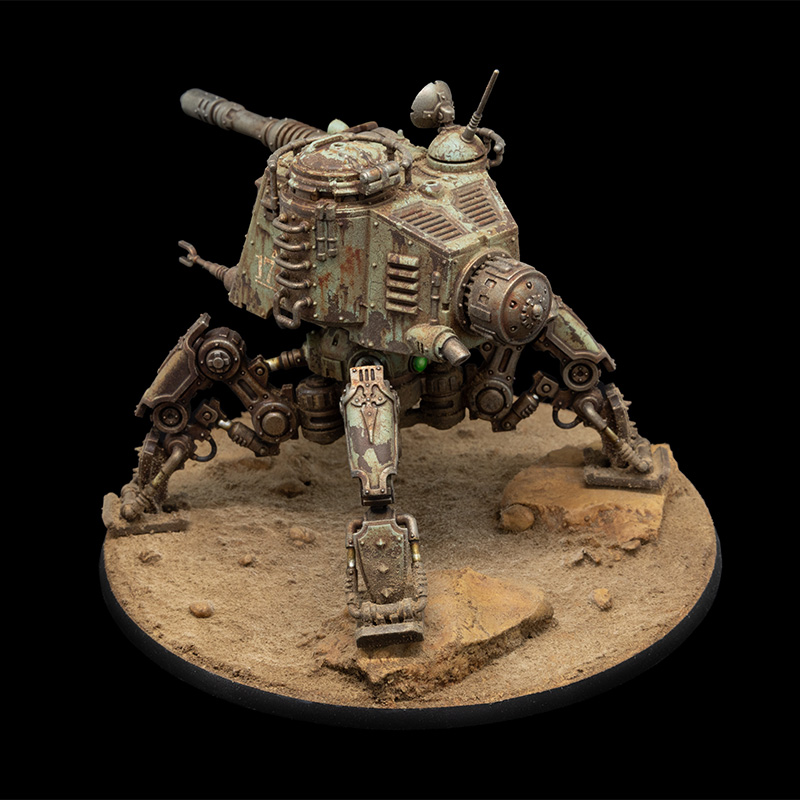
This is the first (of hopefully many) model that will make up a Mechanicus force to be used in Warhammer 40K, inspired by a short piece of lore from the 7th Edition Cult Mechanicus codex about the Prophet of Cogs, who raises an army of long-abandoned machines as sort of cyber-ghouls. All very spooky, silly, and right down my alley.
As the Prophet of Cogs used abandoned machinery, heavy weathering was definitely called for – these things have been lying half buried in trash heaps, exposed to the harsh elements of Mars, and there’s nobody to maintain them – the priests of Mars certainly had no interest in junk.
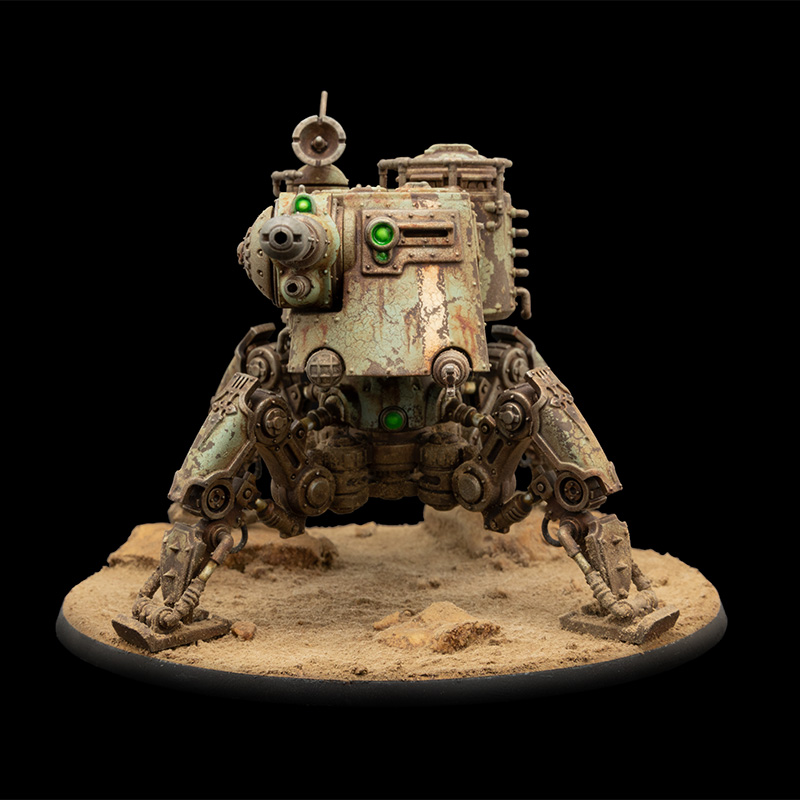
While this level of weathering isn’t at all realistic in most cases, unless you’re doing a model of a car in a junkyard, it was definitely a ton of fun to do. I’ll be writing up a tutorial for this down the line, but in short it’s done by using chipping medium to pick away at the paint layer and naturally introduce the cracking of the paint. I felt that a pale blue-green was the perfect colour for a rogue element of Mechanicus, which is usually known for it’s Martian red colour schemes.
The rust streaking was achieved with oil paints, which make effects like this a walk in the park compared to acrylics. With oils, I was able to easily drag down a dot of the paint to simulate rust stains, and any mistakes could be corrected by gently nudging the oil paint into position. This is hard to describe, so I’ll be looking to do a tutorial for this in the near future.
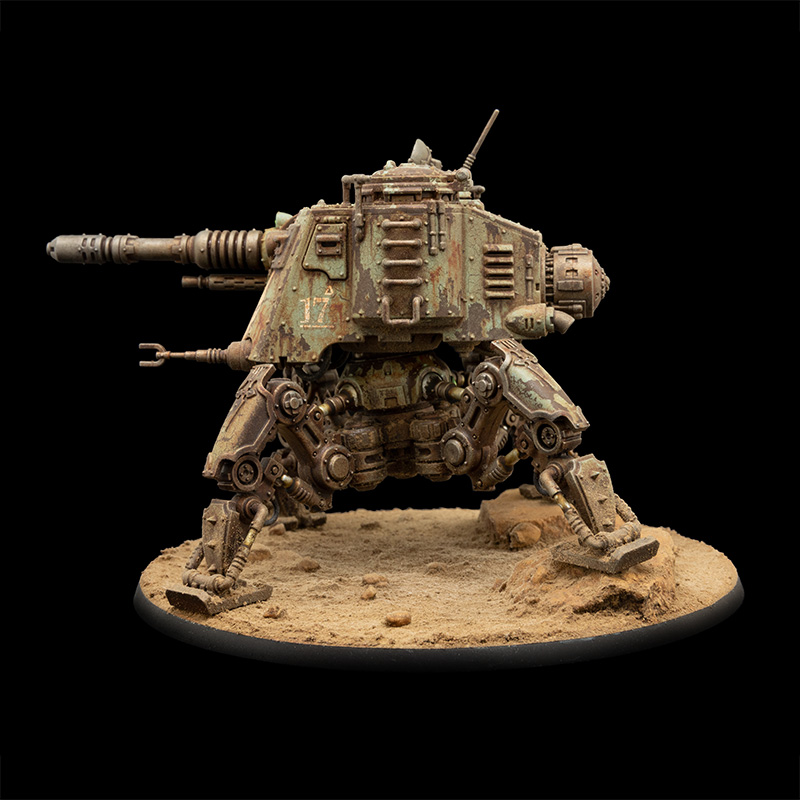
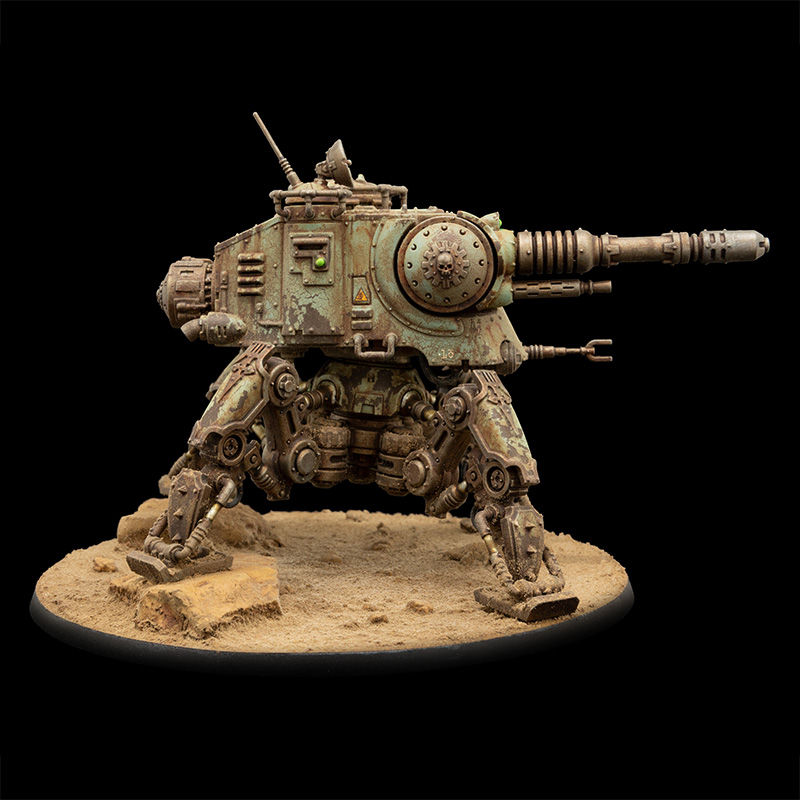
The metal work was left fairly plain – when this model was painted back in 2018 I was much less confident using oil paints and so played it quite conservative when using it for anything other than rust affects. If I were to do this model again I’d definitely like to focus more attention on the metal trim, adding depth and variation to better convey the age of the metal.
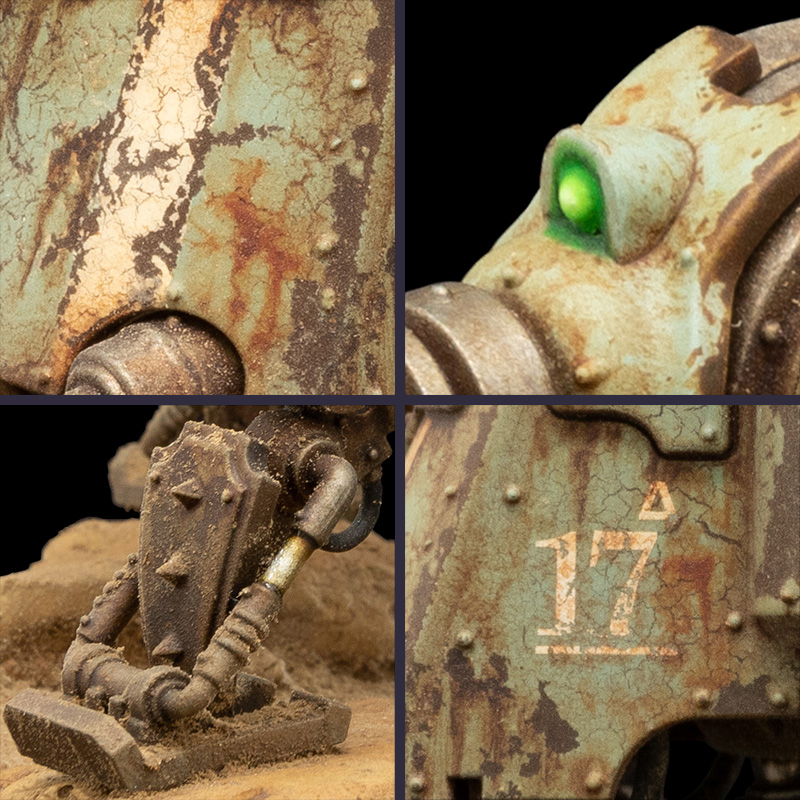
One slight hang-up I have when seeing other peoples models is the lacking decal work. I’ll admit that these things are fiddly at the best of times, but when properly blended into the model’s paintwork they can really help sell the weathering and realism of a model – I’ll cover this in more detail in a future post.
With the regards to the model itself, I took care in keeping the working surface of any pistons (above; bottom left) free of any weathering apart for grease deposits – these would be in regular motion and any dust would have been knocked off and pushed away. These were done by applying a coat of gloss varnish over a sepia wash. The OSL glow of the targeting sensor (above; top right) isn’t my best work, and probably needs some refinement – glowing effects will always be my bane!
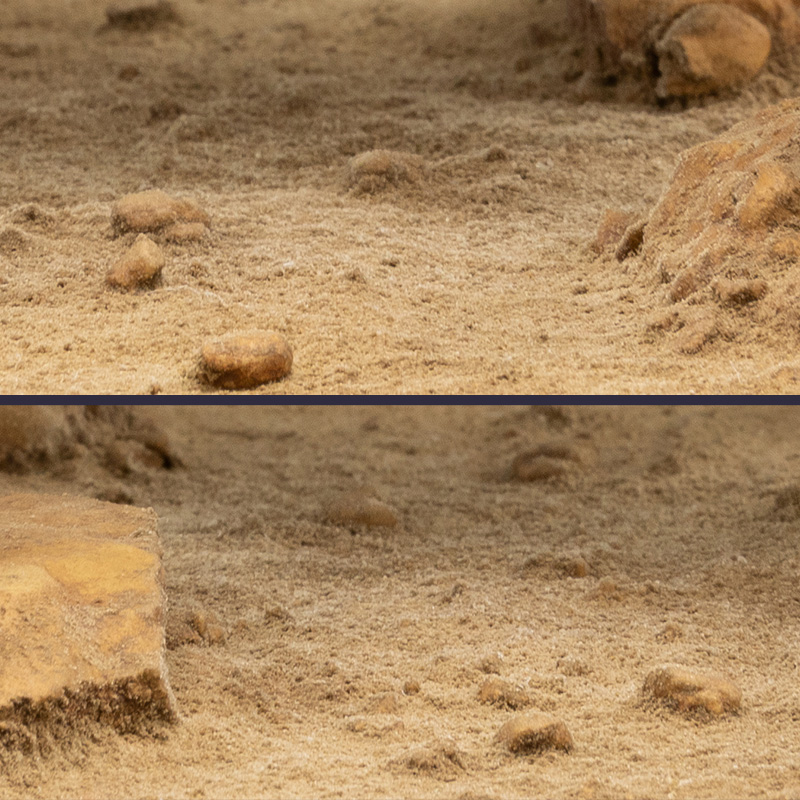
Finally we come to the base – this seems to be an area where a lot of people do the smallest amount of work, which is fine! After spending hours on the model it can sometimes be hard to find the energy for any extra work. In my opinion, the base is just as important as the model – tying together the model with its environment really helps create a full effect.
This machine has been traipsing through a desert, adjusting its footing in the rough terrain, and has been assaulted by windswept dust and sand. The extra time and care put into building up varying texture and level of detail in the desert base supports the pigment weathering done on the model itself, which alone would seem out of place and stick out like a sore thumb.
This write up has given me a lot to think about in how I approach future models, and taking photos of the Dunecrawler has shown me how much more I still have to learn when it comes to painting. There’s a few tutorials I’d like to do covering some of the things talked about here, which would definitely include the decal work and basing methodology.
Thanks for reading!
-P
